How to Deploy Angular App in Aws Ec2 Instance


What is Angular?
It is a Component based framework used for building Single-page Web Applications using Html and TypeScript. A collection of well-integrated libraries that cover a wide variety of features, including routing, forms management, client-server communication, and more.
What is an EC2 instance?
An Amazon EC2 instance is a virtual server in Amazon’s Elastic Compute Cloud (EC2) for running applications on the Amazon Web Services (AWS) infrastructure.EC2 is a service that enables business subscribers to run application programs in the computing environment.
Creating an Angular Application:
Open the terminal and type the following command to create an angular project.
ng new your-project-name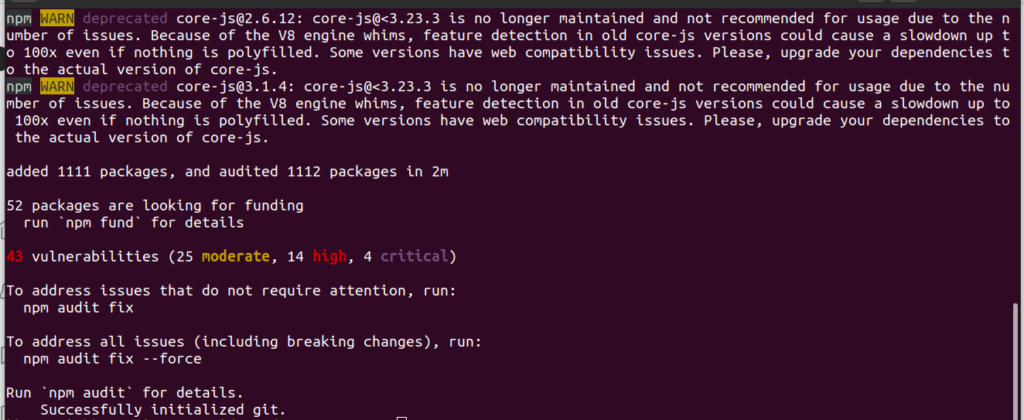
After the project has been created successfully, open the project by using “vcode .” in the terminal to open the project in visual studio code or open whatever you have like IntelliJ and so on….
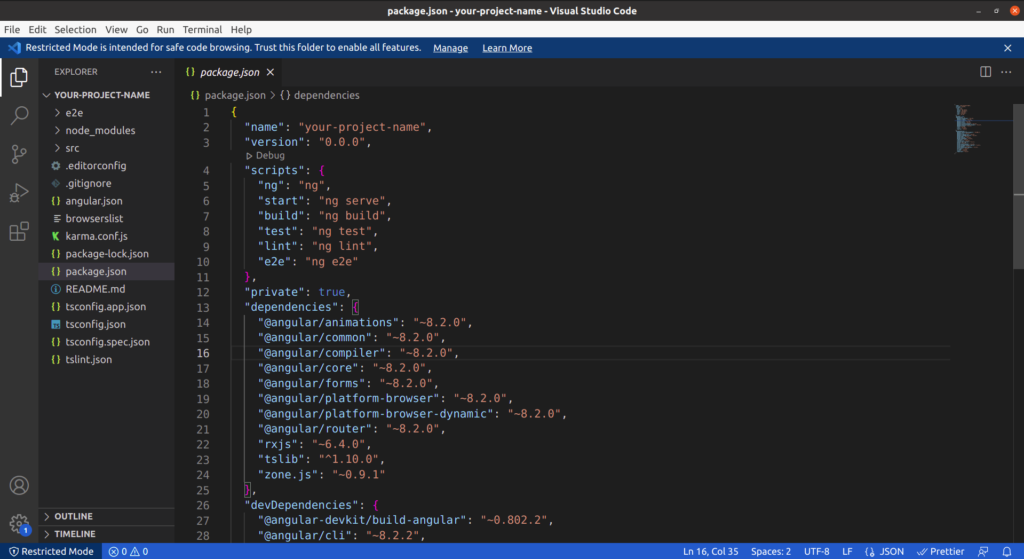
This is what the project looks like after opening in visual studio code.
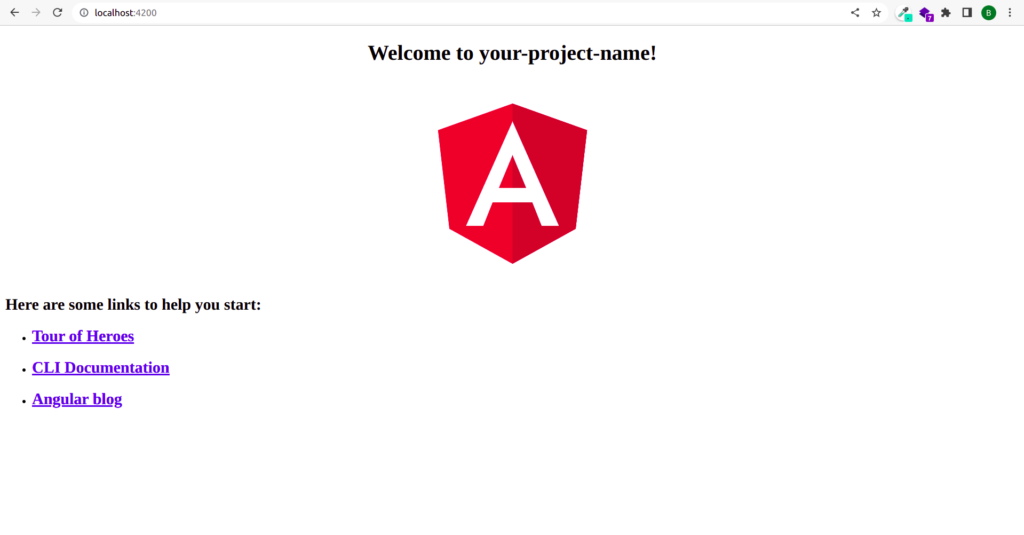
To open this in the browser, type ng serve in the project terminal.
And then type localhost:4200 in web and this is how the project looks like
Now we need to build the project by using the following command
ng buildThe build file will be created in the dist folder and compressed the file as zipping as below.
AWS INSTANCE:
Now, we need to create an Aws instance
After creating an EC2 INSTANCE, you will generate an “Ip address” and “Pem Key”
for eg: IP ADDRESS -12.345.678.9, PEM KEY -aws.pem
Now, open the terminal and type the below command
scp -i "~aws.pem" "/home/Documents/your-project-name.zip" [email protected]:/tmp/The above command is used to copy the project to “tmp” folder.
Next step is to Login to the instance by using the following command.
ssh -i "~aws.pem" [email protected]After adding the above command you will be logged in to the server.
Now change the directory to tmp as below
cd /tmpNow type “ls” command to check the list the files or directories.
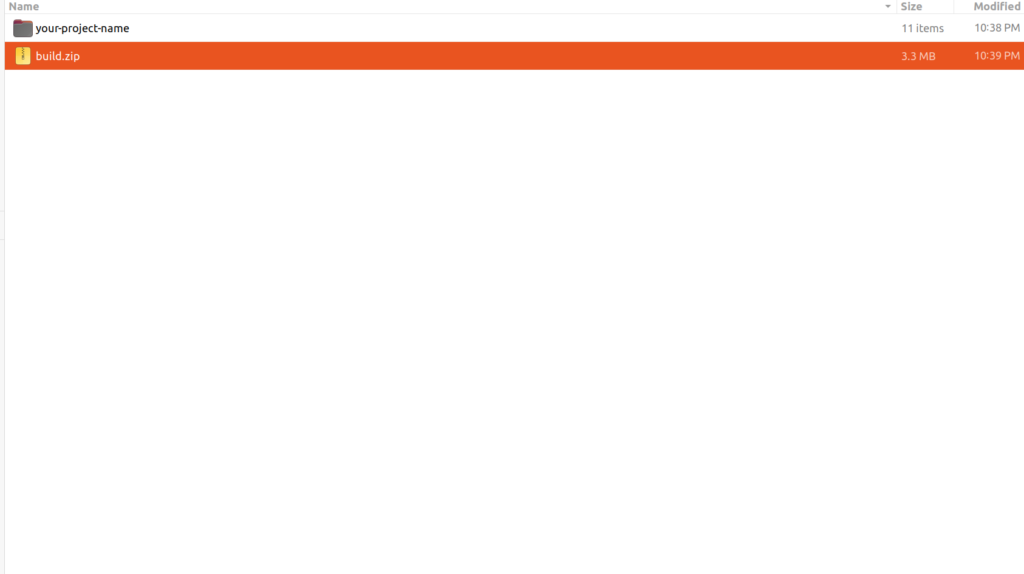
build.zip
your-project-name
and so on….
Now you need to unzip the build file by using the following command. If the unzip command is not installed, then install
sudo npm install unzipNow use the following command to unzip the build file.
unzip build.zipAfter unzipping you need to copy all the build files which is stored in your-project-name to /var/ww/html
sudo cp -r /tmp/your-project-name/* /var/www/html/If the page was not showing the output or any other pages on click is not showing, then we need to enable Nginx config file
To do that, you need to open that in the editor by using the following command
sudo nano /etc/nginx/sites-enabled/defaultserver {
listen 80 default_server;
listen [::]:80 default_server;
root /var/www/html;
index index.html index.htm index.nginx-debian.html;
server_name _;
location / {
root /var/www/html;
index index.html;
try_files $uri $uri/ /index.html?/$request_uri;
}
}
Next, open the browser, and type your IP ADDRESS in the browser like 12.345.678.9

This is how we need to deploy an angular application in EC2 INSTANCE.
To secure your Organization's data, Check outgetsecured.ai helps your data to protect from cyber threats.
Bhargavi
Bhargavi is working as a front-end developer and UI/UX designer. She works on building the best user experience and end-to-end technical deliverables from feature creation. You can reach out to her by Clicking Here.